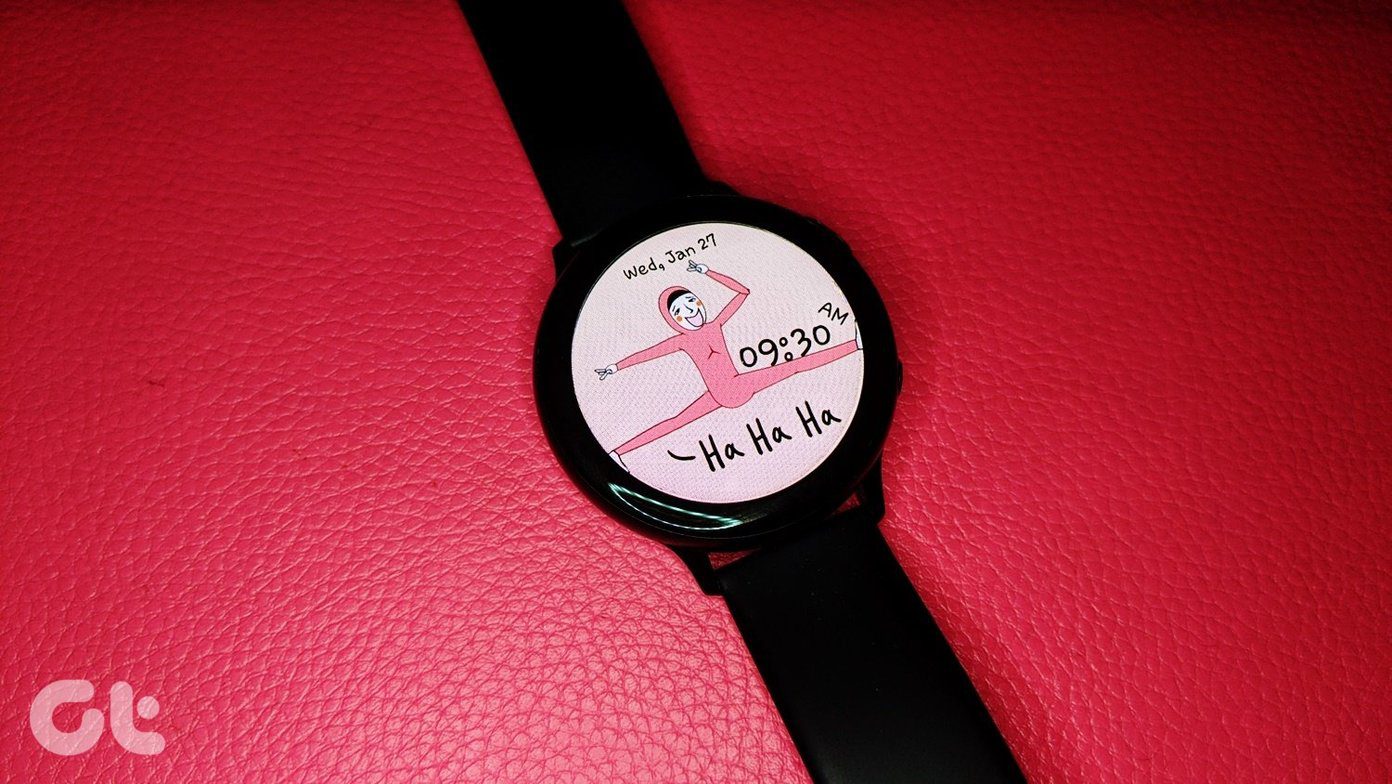
The problem of Galaxy Watch vibration not working happens on almost all Galaxy Watches. So the solutions will work on all of them, such as Galaxy Active Watch 2, Galaxy Watch 3, etc. Let’s get started.
1. Restart Phone and Watch
Begin the troubleshooting process by restarting your Samsung Galaxy Watch and the phone connected to it. To restart the watch, press and hold the Power button on your Watch. Tap on Power off from the options that appear. The Watch will turn off. To turn it on, press and hold the same button, i.e., the Power button until you see the Samsung logo. Release the button.
2. Turn off Watch only Mode
You will not receive notifications of any kind, including vibrations on your Watch, if it’s in the Watch only mode. Turn off the mode to get notifications from your phone. To disable Watch only mode, press the Power button for 3 seconds or more until you see the watch logo. That will disable the Watch only mode. Tip: Check out the 7 best Galaxy Watch accessories that you can buy.
3. Enable Vibration on Watch
Enabling vibrations on the Watch first to receive them. With your Galaxy Watch in the normal mode, follow these steps to turn on vibrations: Step 1: Press the power button on your Watch. Tap on Settings. Step 2: Scroll down in Settings and tap on Sound and vibration. Step 3: Firstly, tap on Vibrate with the sound option to turn it on. In case it is already on, tap on it to turn it off. Then tap again to enable it. Step 4: Scroll down on the Sound and vibration screen and change the Ringtone and Notification vibration. Tap on Vibration intensity and change it to Strong.
4. Check Various Sound Modes
Samsung Galaxy Watches come with three different silent modes – Do not disturb (DND), Goodnight mode, and Theatre mode. If any one of them is enabled, the watch will not vibrate for notifications. So check and turn them off, which you can do from Watch and phone both. To turn them off from the Watch, go to Settings > Advanced. Here you will find all three modes. If any one of them is showing on, tap on it and disable it. Tip: Check the scheduled settings related to the three modes.
5. Check DND Mode on Phone
Apart from the Do not disturb mode available on your Watch, the Watch will also sync the mode from the connected phone. So if you put your phone on the Do not disturb mode, you will not receive vibrations or notifications at all on the Watch. You can either disable the DND mode on your phone or unsync the two in the Wearable app. To do the latter, open the Samsung Wearable app on your phone. Tap on Sync phone settings. Turn off the toggle next to Sync Do not disturb.
6. Update and Reinstall Galaxy Wearable App
You should also update the Galaxy Wearable app to fix any bugs in the app that might be causing vibration issues. Tip: Find out how to check if apps need an update on iPhone and Android. If that doesn’t fix it, uninstall the app completely from your phone. Restart the phone and then install it again.
7. Update Watch Software
Similarly, you should look for an available Watch software update. If there was a bug related to vibration in the current version installed on your Watch, the new software should fix it. To check for available updates, open the Wearable app on your phone. Go to Watch software update. Tap on Download and install. The Watch will start looking for an available update. Install it.
8. Reset Watch
Lastly, if nothing works, you will have to reset your Galaxy Watch. Before you do so, you should back up your data. For that, open the Samsung Wearable app on your phone. Go to Account and backup > Back up data. Once important things are saved in your Samsung account, you can reset the Watch. For that, go to General in the Wearable app and tap on Reset. Follow the instructions. You can reset from the Watch itself. For that, go to Settings > General > Reset.
Watch Your Notifications
We believe vibration should start working on your Watch by one of the fixes mentioned above. In case the issue continues, do check our other post of notifications not working on Samsung Galaxy Watch. The above article may contain affiliate links which help support Guiding Tech. However, it does not affect our editorial integrity. The content remains unbiased and authentic.


![]()
